Table Of Content
If needed, place an item to prop up the overhang while the icing hardens and the roof sticks securely. Repeat with the other side of the roof and provide support as it dries as well. Once two pieces are stuck to the base, pipe icing along the border where they join, to cement the two pieces together (Image 39). Mix until you get a smooth, thick royal icing mixture (Image 34). The correct consistency should be spreadable but stiff, so that the royal icing will not “run” or spread, but still easily pipeable (Image 35). If you’re using egg whites, whisk the egg whites and cream of tartar until you have a foamy mixture (Images 31 and 32).
Royal icing for the gingerbread house
I immediately knew it wasn’t what I wanted. I didn’t want to subject myself to more intrusive medical procedures, and having biological children has never been important to me. My doctors and my family wanted me to fully understand the weight of my decision, giving me multiple chances to change my mind, but I didn’t. The long delay from finding a mass to getting the ultrasound and a diagnosis is just one way young cancer patients often aren’t taken seriously. I’ve heard of women whose doctors wouldn’t order a mammogram because they were considered too young. Colon cancer patients are sometimes diagnosed with hemorrhoids rather than cancer.
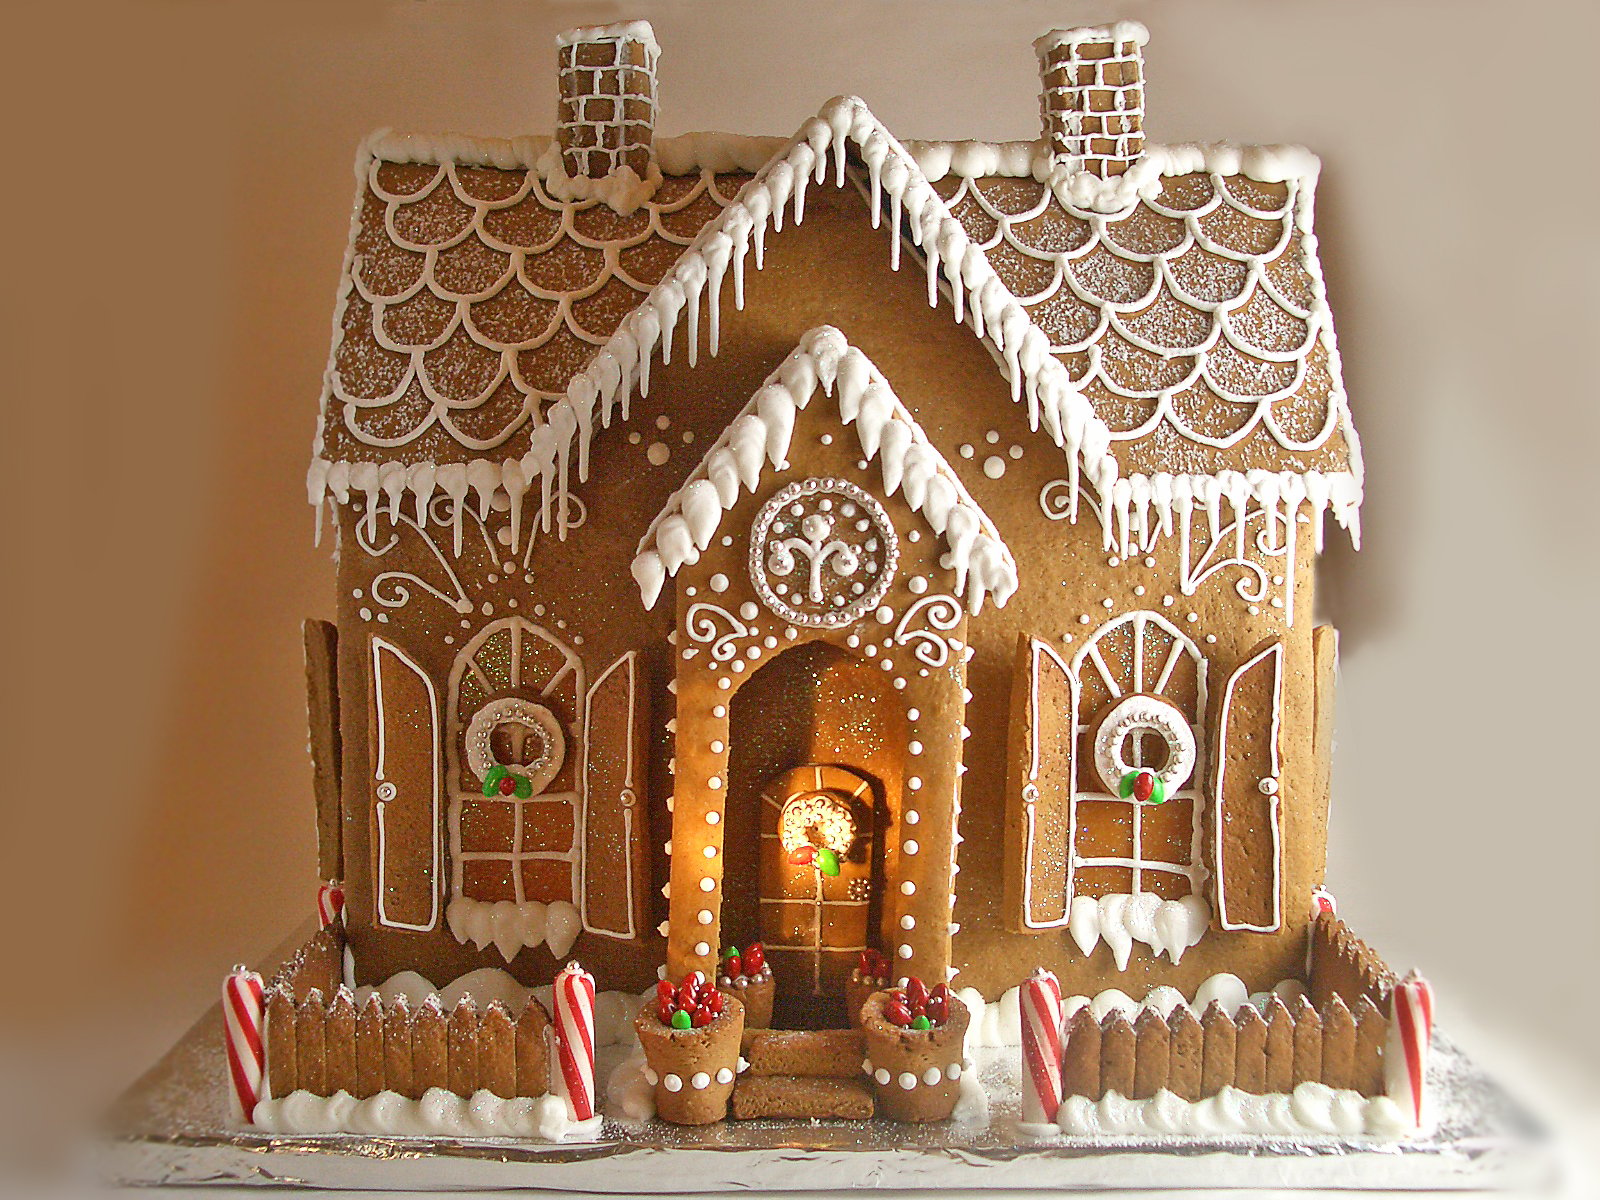
How to make a gingerbread house (and all the tips!)

I found it helpful to weigh the dough into 20 oz chunks, pat into squares, and wrap individually before refrigerating. That way, you can take out a square of cold dough and roll it out for each slab. This house is approximately 7 inches tall with the chimney and 6 inches wide.
The Best Vanilla Cake Recipe
You can use a cardboard cake board, a large platter or plate, a pretty cookie sheet, a cutting board, or a cake stand. Royal icing is hands down the best option for gingerbread construction. It hardens up rock hard and is the glue that will hold the walls and roof of your house well while still being edible.
The Best Gingerbread House Kits to Create a Festive Holiday Centerpiece - Bob Vila
The Best Gingerbread House Kits to Create a Festive Holiday Centerpiece.
Posted: Wed, 17 Jan 2024 08:00:00 GMT [source]
It lends to a sturdy dough that doesn’t spread when baked. I have a 6 qt mixer and ended up halving it still. It's a very thick dough so I think doing in two batches also guarantees proper mixing. I wish the ingredients were listed in amounts for half batch, since you can’t exactly measure out the full amount and then divide in half without remeasuring.
Peanut Butter S’mores Bars
The icing is ready when it is smooth, glossy, and holds a stiff peak. Transfer the icing into piping bags and tightly cover any excess for later use — it dries out easily. The store-bought kit candy always tastes weird to me and the royal frosting is just terrible! Give homemade gingerbread houses a shot.
Step 7 – Stick the template onto the cardboard. Use slightly thick cardboard and non-toxic glue like a glue stick. Apply the glue on the back of the printed template. Remember to apply the glue outside of the template line AND inside (Image 17).
Discard paper patterns and place each cut-out on a wire rack. If your dough is still a little soft at this step, it’s okay. This specialty ingredient hardens quickly and is more fast-drying than butter frosting. In addition, if you want to keep your house for as long as possible, you’ll want a frosting that’s devoid of any butter, as this can cause it to rot faster.
Allow the royal icing to completely set and harden before adding the roof (Image 41). Place the royal icing in a large piping bag or a ziploc bag (Image 36). Seal the opening of the piping bag or ziploc bag, making sure to remove as much air as possible. Exposure to air will cause the royal icing to harden.
Maybe you'd like to set the house at an angle instead of squared up. Once you start assembling the pieces, it might be hard to go back and move everything around. I used the Ateco 352 leaf tip and Ateco 32 star tip to create the different types of branches and leaves on these trees. I recommend starting a little above the base of the overturned sugar cone and working your way up to the top to cover it with icing. I was able to hold it on the inside with my fingers and just twist my wrist to work around the cone. I recommend making the gingerbread a day or two in advance so that you can relax and enjoy putting the gingerbread house together later.
Then, build a few snowmen out of jumbo marshmallows and tinted royal icing. Finally, add a few small bottlebrush trees to complete the scene. In a large bowl, whisk together the flour, salt, baking powder, ginger, cinnamon and cloves. In another bowl, whisk together the egg, molasses, oil and brown sugar. Gradually combine the wet ingredients with the dry ingredients, mixing well. Pour the batter into the prepared pan and bake until golden brown, about minutes.


No comments:
Post a Comment